Introduction: The Secret to Crispy Boneless Chicken Wings
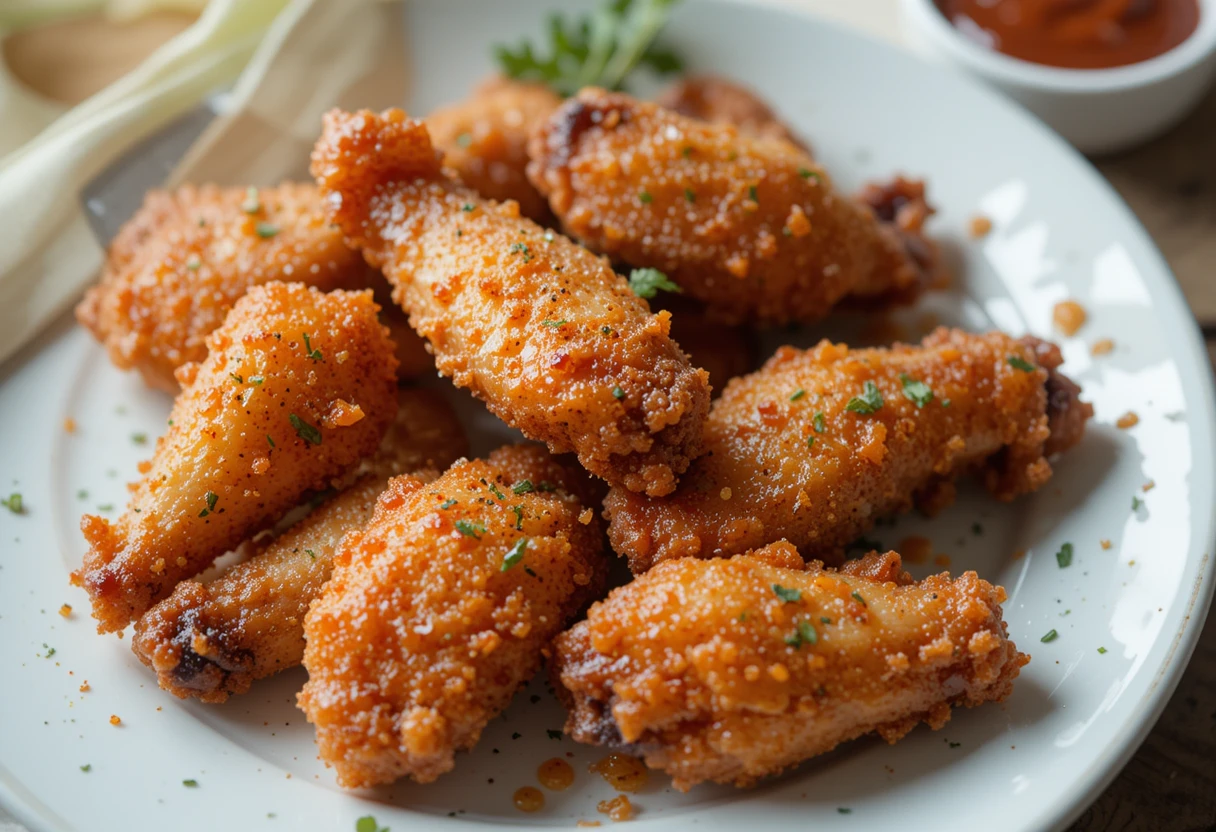
There’s something irresistible about biting into a plate of Boneless Chicken Wings—crispy on the outside, juicy on the inside, and packed with flavor. Whether you’re making them for game nights, parties, or just to satisfy a craving, nothing beats the satisfaction of making homemade Boneless Chicken Wings that rival your favorite restaurant’s version.
But achieving that perfect crispiness at home can be a challenge. Have you ever made Boneless Chicken Wings that turned out soggy, greasy, or lacking that satisfying crunch? The key lies in the right breading technique, seasoning, and cooking method.
In this guide, you’ll learn how to make crispy Boneless Chicken Wings at home using frying, baking, or air-frying methods. Follow this step-by-step approach to ensure you get the best homemade Boneless Chicken Wings every time.
Table of Contents
What Are Boneless Chicken Wings?
Despite the name, Boneless Chicken Wings are not actual wings with the bones removed. Instead, they are made from boneless chicken breast or thighs, cut into bite-sized pieces, breaded, and fried to golden perfection.
Unlike traditional bone-in wings, which require careful eating around the bone, Boneless Chicken Wings offer a meatier bite and are easier to eat. They also absorb sauces more effectively, making them a popular choice for those who love flavorful wings without the mess.
Another advantage of homemade Boneless Chicken Wings is the ability to customize them to your liking. Whether you prefer spicy Buffalo, tangy BBQ, or crispy Garlic Parmesan, you can make the best version with just a few simple ingredients.
Why You’ll Love This Boneless Chicken Wings Recipe
- Crispy and Juicy: These Boneless Chicken Wings have the perfect crunch without being dry.
- Simple Ingredients: You likely already have most of these ingredients in your kitchen.
- Multiple Cooking Options: Whether you prefer fried, baked, or air-fried Boneless Chicken Wings, we’ve got you covered.
- Better Than Takeout: Making your own homemade Boneless Chicken Wings allows you to control the ingredients and flavors.
Ingredients for the Crispiest Boneless Chicken Wings
Using the right combination of ingredients is essential for achieving crispy Boneless Chicken Wings. Below is a detailed breakdown of what you’ll need:
Main Ingredients
| Ingredient | Quantity |
|---|---|
| Boneless chicken breast | 2 lbs |
| Buttermilk | 1 cup |
| All-purpose flour | 1 cup |
| Cornstarch | ½ cup |
| Baking powder | 1 tsp |
| Garlic powder | 1 tsp |
| Onion powder | 1 tsp |
| Paprika | 1 tsp |
| Salt | 1 tsp |
| Black pepper | ½ tsp |
| Cayenne pepper (optional) | ½ tsp |
| Eggs | 2 |
| Panko breadcrumbs (for extra crispiness) | 1 cup |
| Oil (for frying) | As needed |
| Your favorite wing sauce | ½ cup |
Each ingredient plays a role in maximizing the crispiness and flavor of your homemade Boneless Chicken Wings.
- Buttermilk tenderizes the chicken, keeping it juicy.
- Cornstarch and baking powder create a light, airy crisp.
- Panko breadcrumbs add an extra-crunchy texture.
- Seasonings ensure every bite is flavorful.
Step-by-Step Instructions for Making Crispy Boneless Chicken Wings
1. Preparing the Chicken
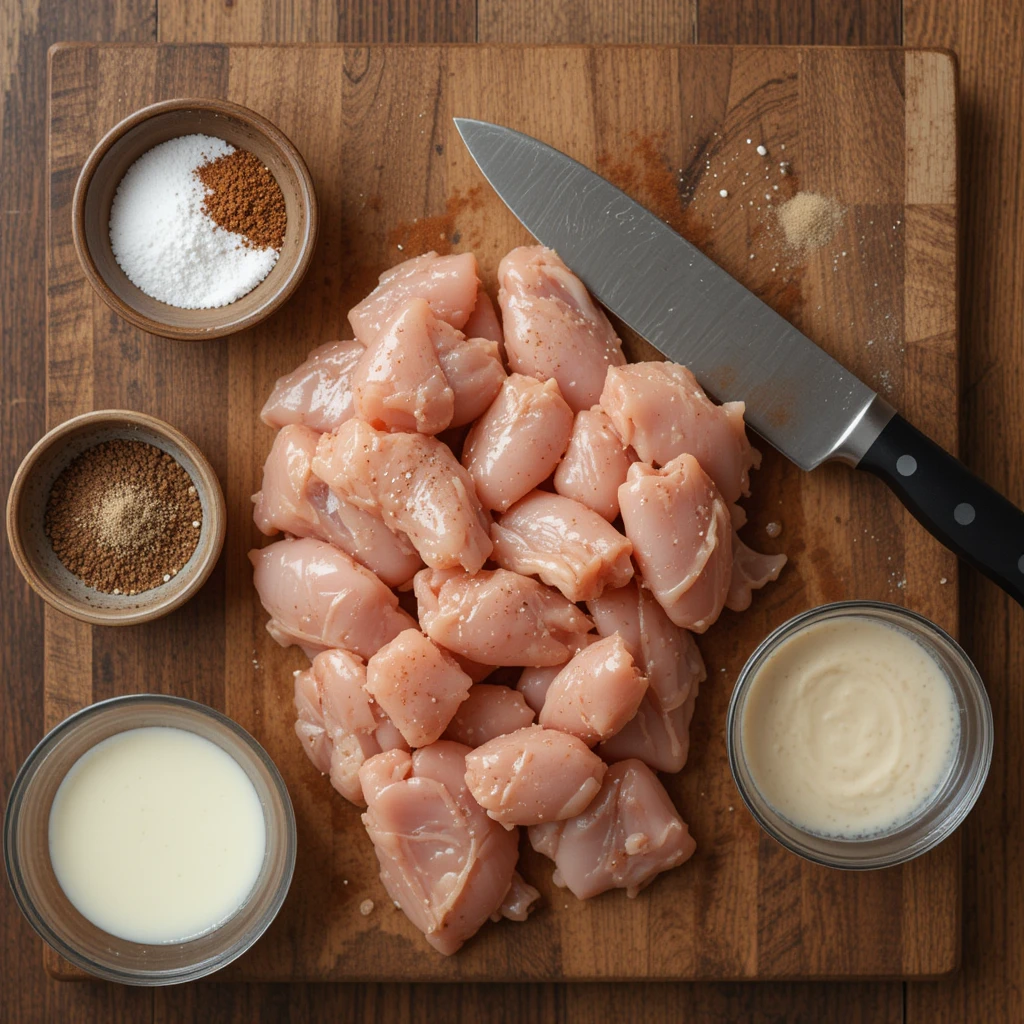
- Cut boneless chicken breast into bite-sized pieces. Aim for uniform sizes to promote even cooking.
- Place the chicken in a bowl of buttermilk and let it marinate for at least 30 minutes (or overnight for maximum juiciness). Buttermilk helps tenderize the meat and creates a flavorful base for the breading to stick to.
2. Creating the Crispy Breading
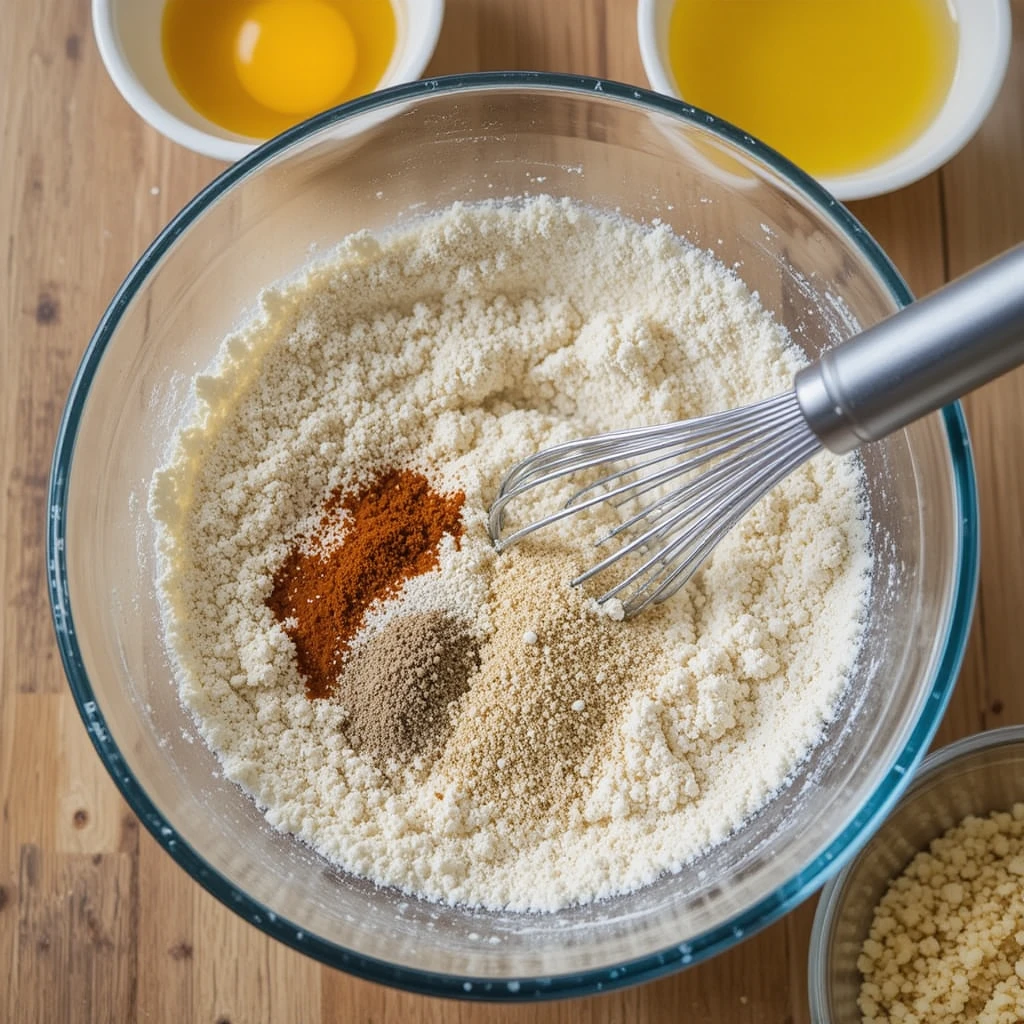
- In one bowl, combine flour, cornstarch, baking powder, and seasonings.
- In a second bowl, whisk the eggs.
- In a third bowl, add panko breadcrumbs for an extra-crunchy coating.
This three-step process helps create the best Boneless Chicken Wings, ensuring they stay crispy even after being coated in sauce.
3. Bread the Chicken for Maximum Crispiness
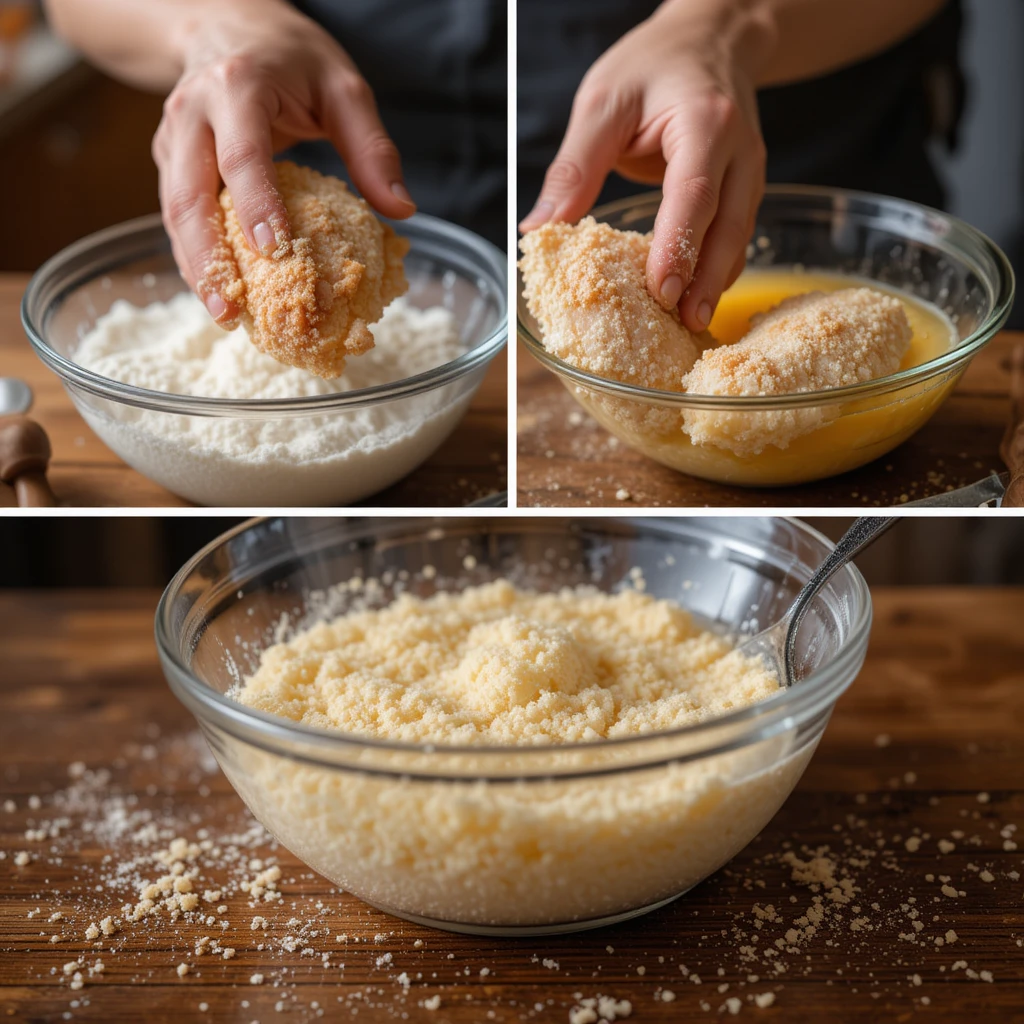
A great crispy coating starts with the right breading technique. Skipping or rushing this step can result in a soggy or uneven texture, so take your time to get it right.
Step-by-Step Breading Process:
- Remove from Buttermilk: Take the chicken pieces out of the buttermilk, letting any excess drip off. Buttermilk not only tenderizes the chicken but also helps the breading adhere better.
- Coat with Seasoned Flour: In a shallow bowl, dredge the chicken in the flour mixture, making sure each piece is evenly coated. The flour contains cornstarch and baking powder, both of which contribute to a lighter, crispier crust.
- Dip in Egg Wash: Transfer the flour-coated chicken into the whisked eggs, ensuring each piece is fully coated. The egg wash acts as a glue, helping the final layer stick.
- Roll in Panko Breadcrumbs: Lastly, press the chicken into the panko breadcrumbs. Panko is essential for creating a light and airy crispness that regular breadcrumbs lack.
Pro Tips for Extra Crunch:
- Double Coating: For an ultra-crispy texture, repeat the flour and egg steps before adding the breadcrumbs. This method of double-dredging results in a thicker and crispier coating.
- Let the Chicken Rest: After breading, let the chicken sit for about 10 minutes before frying. This helps the coating adhere better, reducing the chance of it falling off during cooking.
4. Frying to Golden Perfection
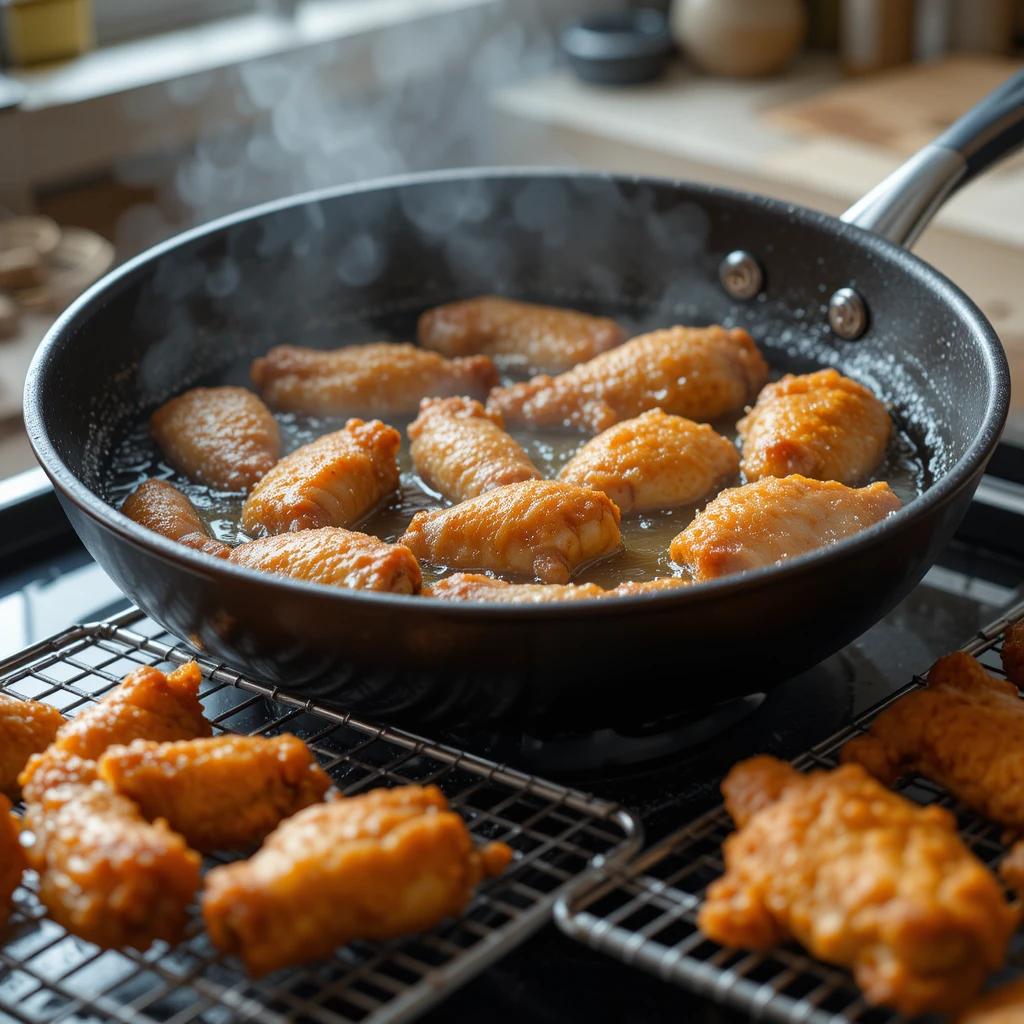
Deep frying produces the crispiest results, but the technique needs to be spot-on. Frying at the wrong temperature or overcrowding the pan can lead to greasy, unevenly cooked chicken.
Best Practices for Deep Frying Boneless Wings:
- Use the Right Oil: A high-smoke-point oil like vegetable oil, canola oil, or peanut oil works best. These oils can handle high heat without breaking down, ensuring a cleaner, crispier fry.
- Maintain the Right Temperature: Heat oil in a deep pan or fryer to 350°F (175°C). Using a kitchen thermometer is highly recommended. If the oil is too hot, the coating will burn before the chicken is fully cooked. If it’s too cool, the chicken will absorb excess oil, making it greasy instead of crispy.
- Fry in Small Batches: Avoid overcrowding the pan, as this lowers the oil temperature and results in uneven cooking. Frying in batches ensures each piece gets properly crisped.
- Flip for Even Cooking: Use tongs to gently turn the chicken pieces every couple of minutes for even browning.
How to Know When the Chicken is Done:
- Cook the chicken for about 4-5 minutes, or until it turns golden brown.
- The internal temperature should reach 165°F (75°C) to ensure it’s fully cooked.
- Once done, transfer the fried chicken to a wire rack or paper towel-lined plate to drain excess oil.
Pro Tip:
Instead of using paper towels, place fried chicken on a wire rack. This prevents steam from softening the bottom, keeping your wings crispy longer.
Healthier Cooking Methods: Air Fryer and Oven Baking
If you prefer a healthier alternative to deep frying, baking or air frying can still give you a crispy texture with much less oil.
Air Fryer Method: The Crispiest Alternative
Air frying significantly reduces oil usage while still delivering a satisfying crunch.
- Preheat the air fryer to 400°F (200°C).
- Arrange the breaded chicken in a single layer inside the air fryer basket. Make sure the pieces don’t overlap to ensure even cooking.
- Lightly spray the chicken with cooking spray to help crisp up the coating.
- Cook for 12-15 minutes, flipping halfway through, until golden brown and crispy.
- Let the chicken rest for a couple of minutes before tossing in sauce.
Oven-Baked Method: A Healthier Choice
Baking takes a little longer but still produces a crispy exterior.
- Preheat the oven to 425°F (220°C).
- Place a wire rack over a baking sheet and arrange the breaded chicken on top. This allows air circulation, helping to crisp up the bottom of the chicken.
- Spray the pieces lightly with oil or cooking spray to enhance browning.
- Bake for 20-25 minutes, flipping halfway through for even crispiness.
- Remove from the oven and let sit for a few minutes before adding sauce.
Comparing Cooking Methods:
| Method | Pros | Cons |
|---|---|---|
| Deep Frying | The crispiest, most flavorful option | Higher in oil and calories |
| Air Frying | Still crispy with much less oil | Requires an air fryer |
| Baking | Healthiest method, good crisp | Takes longer, less crunchy than frying |
No matter which method you choose, you’ll still get delicious boneless wings with great texture.
Tossing in Your Favorite Wing Sauce
Once your boneless wings are cooked to crispy perfection, it’s time to add the finishing touch—sauce.
How to Properly Coat Your Wings:
- Pour ½ cup of your preferred wing sauce into a large mixing bowl.
- Add the hot, crispy chicken pieces.
- Use tongs to gently toss the chicken in the sauce, ensuring even coating.
- If you prefer an extra crispy texture, drizzle the sauce over the wings instead of fully tossing them.
For a lighter coating, use a basting brush to brush on the sauce instead of tossing the chicken. This prevents the wings from becoming soggy while still giving them great flavor.
The Best Sauces for Boneless Chicken Wings
The right sauce can take your crispy wings to the next level. Here are some of the most popular flavors:
Classic & Spicy Options:
- Buffalo Sauce: A tangy and spicy classic, made with hot sauce and butter.
- Honey Sriracha: A perfect balance of sweetness and heat.
- Nashville Hot: A fiery kick with a touch of brown sugar.
Sweet & Savory Choices:
- Honey Garlic: A rich combination of honey, soy sauce, and garlic.
- Teriyaki Sauce: A sticky, slightly sweet glaze with umami flavor.
- BBQ Sauce: Smoky, tangy, and slightly sweet—great for all tastes.
Creamy & Garlic-Infused Options:
- Garlic Parmesan: A buttery, cheesy blend of parmesan and garlic.
- Ranch-Style Butter Sauce: A creamy, herby mix with a mild spice.
Each sauce brings out a different side of your crispy wings, making them a versatile dish for any occasion.
How to Serve and Store Boneless Chicken Wings
Now that you’ve perfected your homemade crispy boneless wings, it’s time to serve them up in style. Whether you’re making them for a casual snack, game-day feast, or family dinner, pairing them with the right dips and sides can elevate the experience.
Best Dipping Sauces for Boneless Wings
While your wings may already be coated in a flavorful sauce, offering additional dips allows for a fun and interactive meal. Here are some classic dipping options:
- Ranch Dressing – A cool, creamy contrast to spicy wings.
- Blue Cheese Dressing – A bold and tangy option that complements Buffalo sauce.
- Honey Mustard – Sweet and tangy with a hint of spice.
- Sriracha Mayo – A creamy, spicy kick.
- Garlic Aioli – A rich, garlicky dip for a gourmet twist.
Side Dishes to Serve with Boneless Wings
Boneless wings pair well with a variety of sides that enhance their flavor:
- Celery and Carrot Sticks – A refreshing crunch to balance the richness of the wings.
- French Fries or Sweet Potato Fries – A crispy, salty complement.
- Mac and Cheese – A creamy, indulgent side.
- Coleslaw – A tangy, slightly sweet balance to the spice.
- Onion Rings – Another crispy favorite.
Storing and Reheating Boneless Wings Without Losing Crispiness
If you have leftovers, proper storage and reheating methods are key to maintaining their crispy texture.
How to Store Leftovers
- Let the wings cool completely before storing them to prevent condensation from making them soggy.
- Store them in an airtight container in the fridge for up to three days.
- If storing for longer, freeze them in a single layer on a baking sheet before transferring them to a freezer-safe bag. They can be stored in the freezer for up to three months.
Best Methods for Reheating Crispy Boneless Wings
Reheating improperly can result in soggy or dry wings. Here’s how to do it right:
- Oven Method (Best for Crispiness)
- Preheat the oven to 375°F (190°C).
- Arrange the wings on a wire rack set over a baking sheet.
- Bake for 10-15 minutes until they are heated through and crispy.
- Air Fryer Method (Fastest & Crispiest)
- Preheat the air fryer to 375°F (190°C).
- Place wings in a single layer.
- Heat for 5-7 minutes, shaking halfway through.
- Stovetop Method (Great for Small Batches)
- Warm a small amount of oil in a pan over medium heat.
- Add the wings and cook for 2-3 minutes per side until crisp.
Avoid These Mistakes When Reheating
- Microwaving: This results in soggy, rubbery wings.
- Reheating with Sauce Already On: Always reheat plain wings and toss them in sauce afterward to maintain crispiness.
Frequently Asked Questions (FAQs)
How do they make boneless chicken wings?
Boneless chicken wings are made by cutting boneless chicken breast or thighs into small, bite-sized pieces. The pieces are then seasoned, coated in a crispy breading, and fried, baked, or air-fried until golden brown. Unlike traditional wings, they don’t contain bones but still deliver the same crispy and flavorful experience. Many restaurants double-coat their boneless wings to create an extra crispy crust and then toss them in sauce before serving.
What is the Boneless Wings Scandal?
The “Boneless Wings Scandal” refers to the debate over whether boneless wings should be called “wings” at all, given that they don’t come from the wing section of the chicken. In 2020, a viral video of a Nebraska man humorously calling for the renaming of boneless wings sparked widespread discussion. He argued that boneless wings are essentially chicken nuggets or tenders, misleading consumers who expect traditional wings. While mostly a lighthearted debate, it highlighted the growing preference for boneless alternatives in restaurants and fast food chains.
When to sauce boneless wings?
The best time to sauce boneless wings is immediately after cooking, while they’re still hot. Tossing them in sauce while they’re fresh from the fryer, oven, or air fryer ensures they absorb flavor without becoming soggy. However, if you prefer extra crispy wings, serve the sauce on the side for dipping instead of coating the wings entirely. This keeps the crunch intact while still allowing you to enjoy the sauce.
What’s the purpose of soaking chicken wings in water and baking soda?
Soaking chicken wings in a baking soda solution is a technique used to enhance crispiness. Baking soda raises the pH level of the skin, breaking down proteins and promoting better browning when fried or baked. While this method is more commonly used for traditional bone-in wings, it can also work for boneless wings. For best results, mix 1 teaspoon of baking soda per 2 cups of water, soak the chicken for 15-20 minutes, then rinse and pat dry before breading and cooking.
Final Thoughts: Why You Should Make These Boneless Wings at Home
Making crispy boneless chicken wings at home is easier than you might think. With the right technique—soaking in buttermilk, proper breading, and choosing the best cooking method—you can achieve restaurant-quality results without the need for expensive equipment. Whether you fry, bake, or air-fry, the secret to success lies in maintaining crispiness while ensuring the inside remains tender and juicy.
By experimenting with different sauces and seasonings, you can customize your boneless wings to suit any taste preference. Pair them with your favorite dips and sides, and you’ve got a meal that’s perfect for any occasion.
So why settle for soggy takeout when you can make the crispiest boneless wings at home? Give this recipe a try, and elevate your wing game today.
For those who love crispy, flavorful dishes, these boneless chicken wings offer the perfect crunch with a juicy interior. If you’re a fan of combining crispy textures with bold flavors, you might also enjoy our Honey Walnut Shrimp Recipe—a delightful balance of sweet, crunchy, and savory that’s sure to impress.
If you’re looking for another take on Boneless Chicken Wings, you might find this Boneless Buffalo Wings recipe helpful. It offers a classic, spicy version that pairs perfectly with homemade ranch or blue cheese dressing. Whether you prefer your wings mild or extra hot, this guide provides another delicious way to enjoy crispy, saucy boneless wings at home.